In my last post, I addressed the topic of gun violence and school shootings. Within the last month, there have been many developments, in state laws, but also with student activism in response to Marjory Stoneman Douglas High School shooting and others.
States are beginning to act on gun laws and gun reform. For example, in Oregon, the state senate passed a law that made it illegal for any people convicted of domestic abuse and violence to own a gun. In Washington, a bill was filed to raise the age to own a semiautomatic weapon with “tactical features” to 21 instead of 18. In Texas, a governor is working with the Texas Education Agency to make sure all schools have safety procedures and fully working security systems.
On Wednesday, March 14th, many students chose to walk out of school, some for 17 minutes to honor those who died in the Parkland shooting, or for much longer to evoke change with gun laws. While some schools allowed their students to walk out, other administrators threatened detentions and punishments. However, no matter the repercussions, thousands of students around the country walked out of their schools.
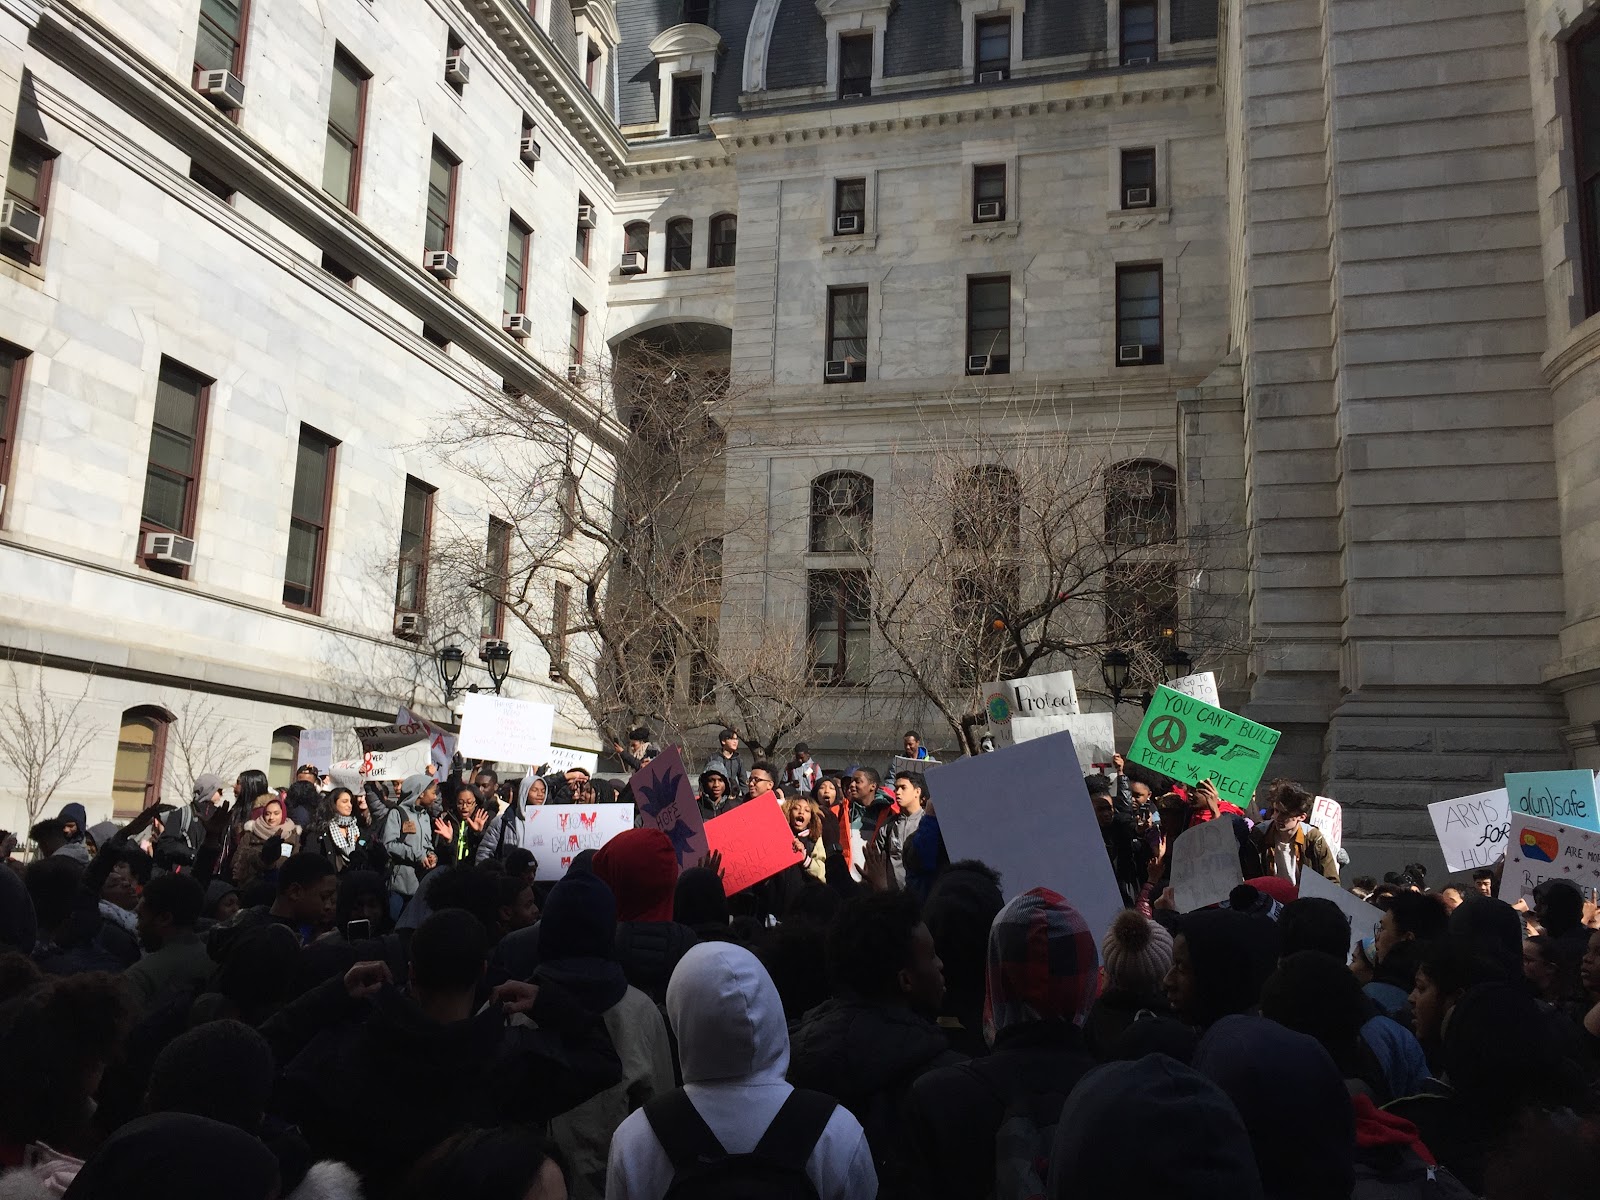
My school, SLA, participated in the walkout as well. Organized completely by students, the walkout included speakers such as Pennsylvania State Senator Vince Hughes, activist Sheila Simmonds, BSU President Zoey Twey, and SLA Student Government members Tamir Harper and Ella Burrows. Students gathered in the alleyway outside of school with signs and posters to protest.
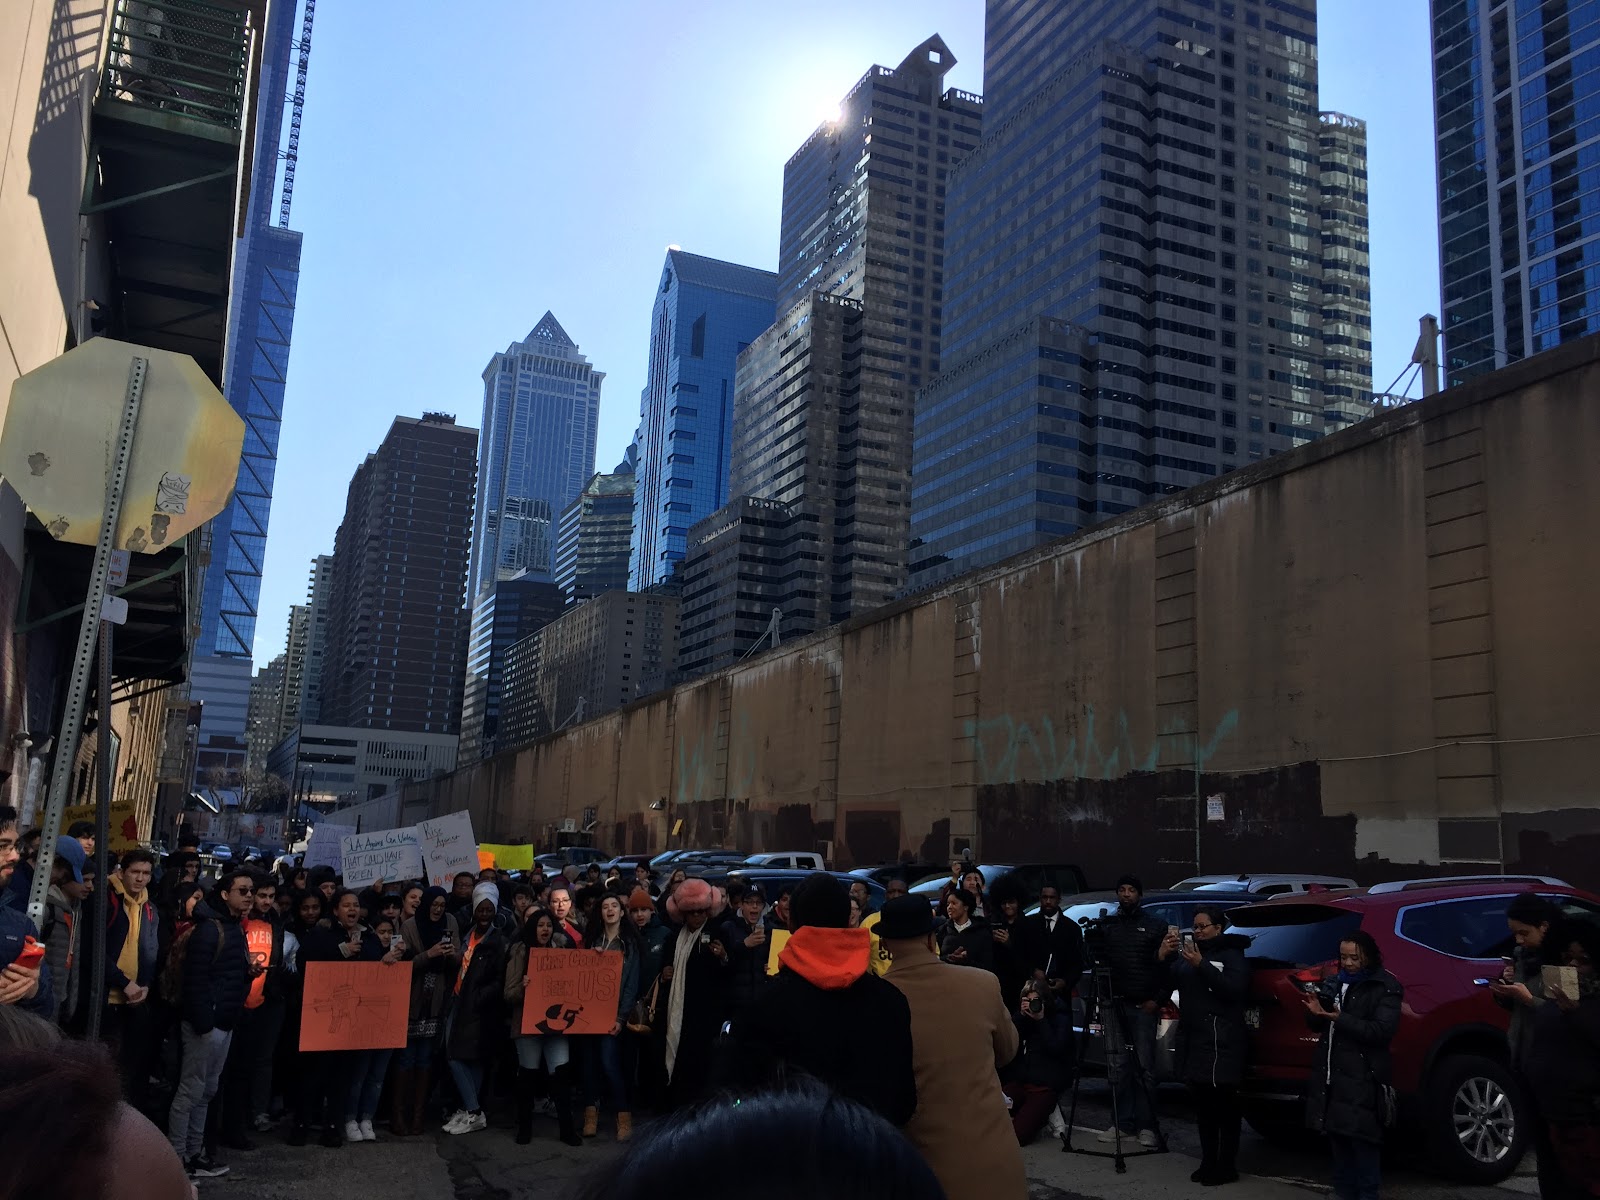
SLA student walkout.
After the walkout officially ended, some SLA students went back into school, but hundreds marched to City Hall to join with students from Central, Masterman, Palumbo, CAPA, Freire, and other schools around the city.
Gathering at City Hall before marching to School District Headquarters.
With signs, megaphones, chants like “Books not Bullets!”, “The NRA is not okay!”, “Hold hands not guns!”, students protested outside of the Philadelphia School District building, and then at City Hall once again. We blocked off entire sections of Market and Broad Street as we marched to honor victims of gun violence and to provoke change in laws. The fact that this effort was entirely orchestrated by students shows how strong youth leadership really is.
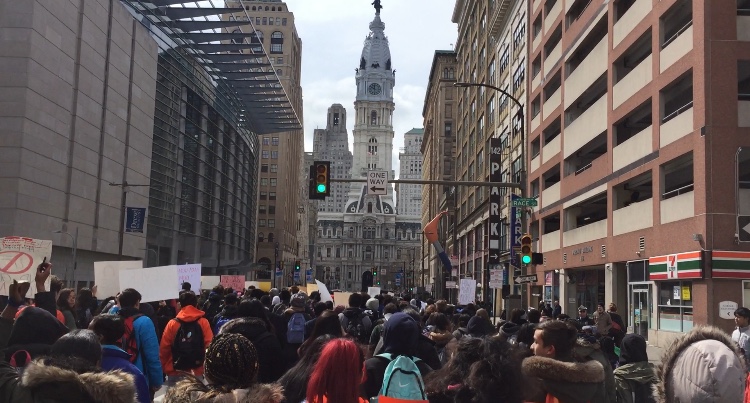
Going back to City Hall from School District headquarters at 440 N. Broad Street.
On March 24th, the Philadelphia March for Our Lives was a part of more than 800 national and international protests for gun control. From 5th and Market to Lombard Circle, thousands of people gathered together in solidarity to keep the pressure up for political change and stricter gun laws.
For part of my original research, I went to this march and interviewed different people. Here is the transcript of the 6 interviews I conducted. Most of the questions asked were things like, “What do you think of the march today?” or “Why is this issue important to you?”.
One woman, holding a March for Our Lives sign, talked about how she is excited about young people leading, but wished there was more representation of people of color and gun violence outside of mass shootings. “I’m really excited to be in a march and be following the leadership of young people. I had hoped to see more young people of color being represented, in terms of speakers, and some of the issues that have been going on in Philadelphia outside of certain mass shooting kinda things...I think that there is a really important area for collaboration here, and using the leverage from this broader nation discussion to address both sets of issues, the mass shooting, and also the daily drip of police violence of gun violence that is not done by AK-47s that is happening in our neighborhoods and schools here in Philadelphia.”

Woman with “March for Our Lives” Sign.
People of all ages were at the march as well. I interviewed a young girl holding a sign that said “Going to school shouldn’t be scary.” When asked about what the march means to hershe said, “Well, my friend Matthew just did a project on the shooting at Columbine, and it made me really sad”.
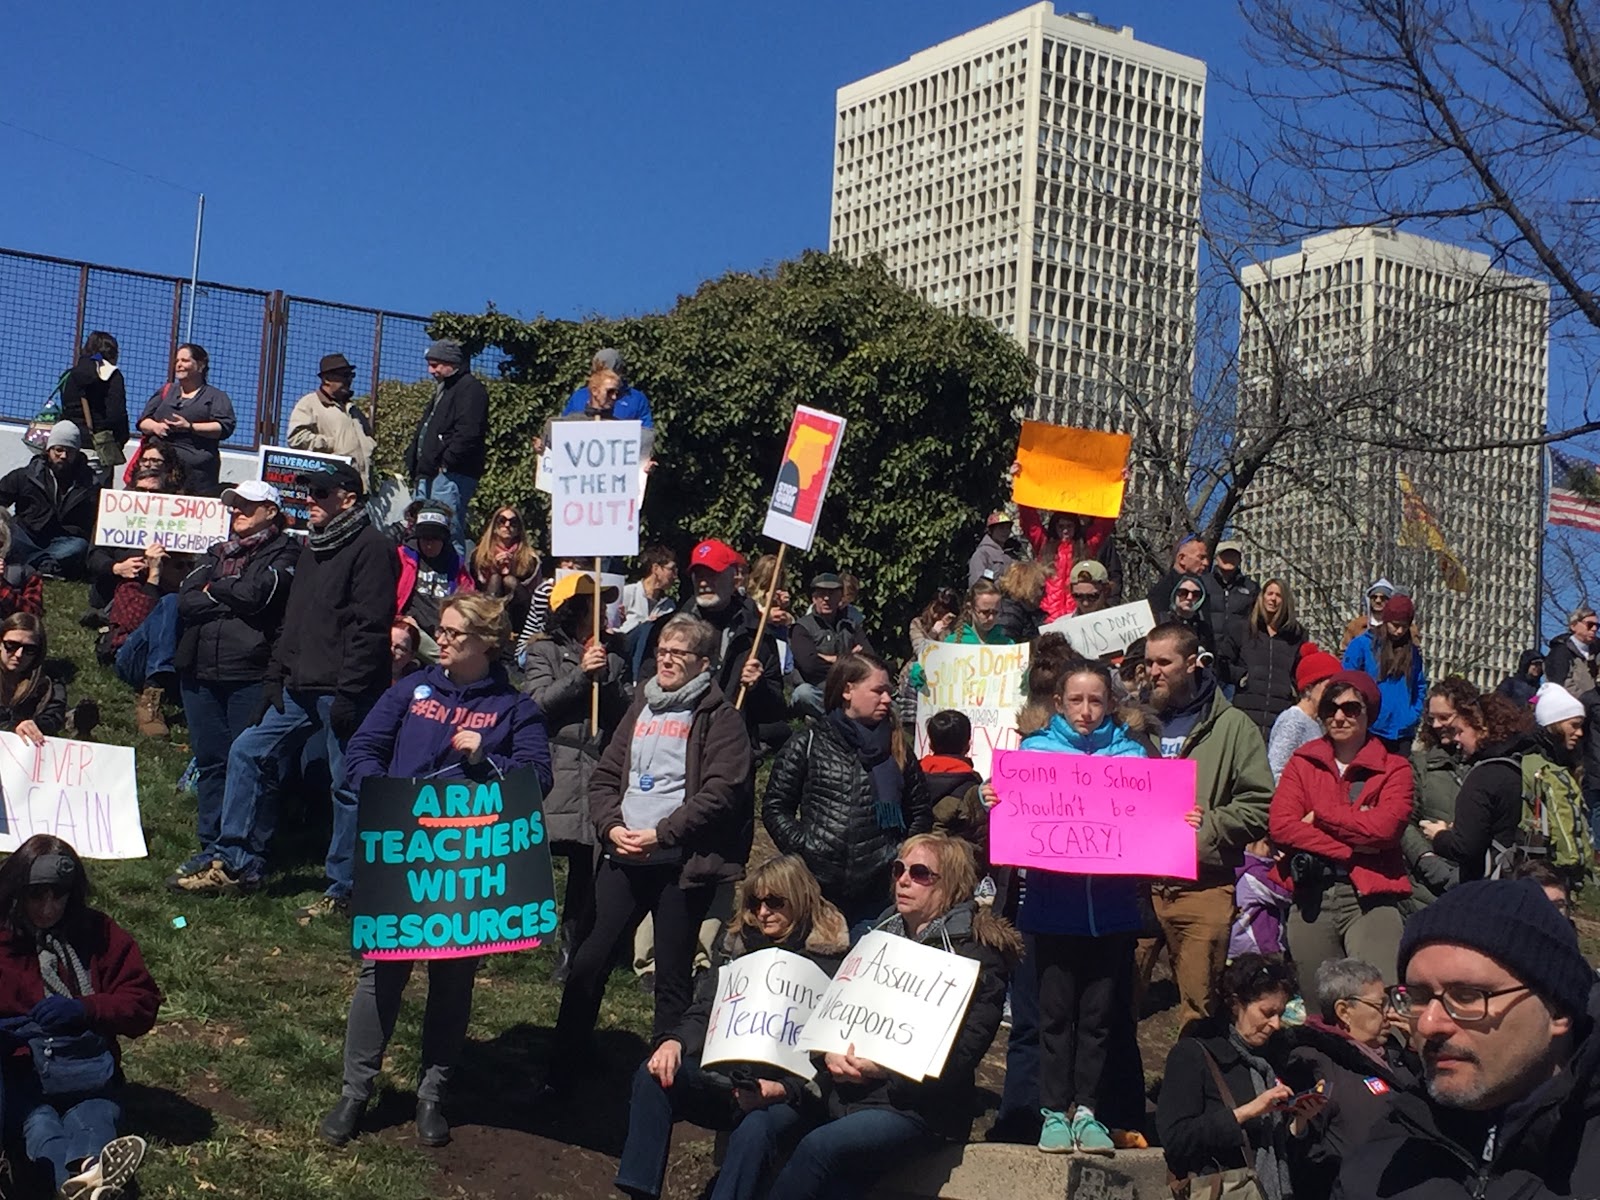
Young girl with pink “going to school shouldn’t be scary” sign.
Another person I was very lucky to interview was Mayor Jim Kenney. He was walking through the crowds of people, and my friend Noor pointed him out. We walked over and asked if we could interview him. “How do you feel about the amount of people that die on our streets due to gun violence?” “Obviously one death is one death too many...we’re here because there are too many guns on our streets and in our society, but the thing I feel good about is that I have less time ahead of me than I have behind me, and you guys are stepping up to lead...I feel very comfortable that when I am retired, you guys will be in charge because what’s in charge now is a disgrace. You’re empathetic, you care about each other, you treat each other with respect and kindness.”


A sign on a dog reads, “Adopting me took: A background check, 4 references, A home visit by the agency, $400 fee, and a month’s wait. The opposite side of the sign says, “Why is it harder to get a dog than obtain a gun?”

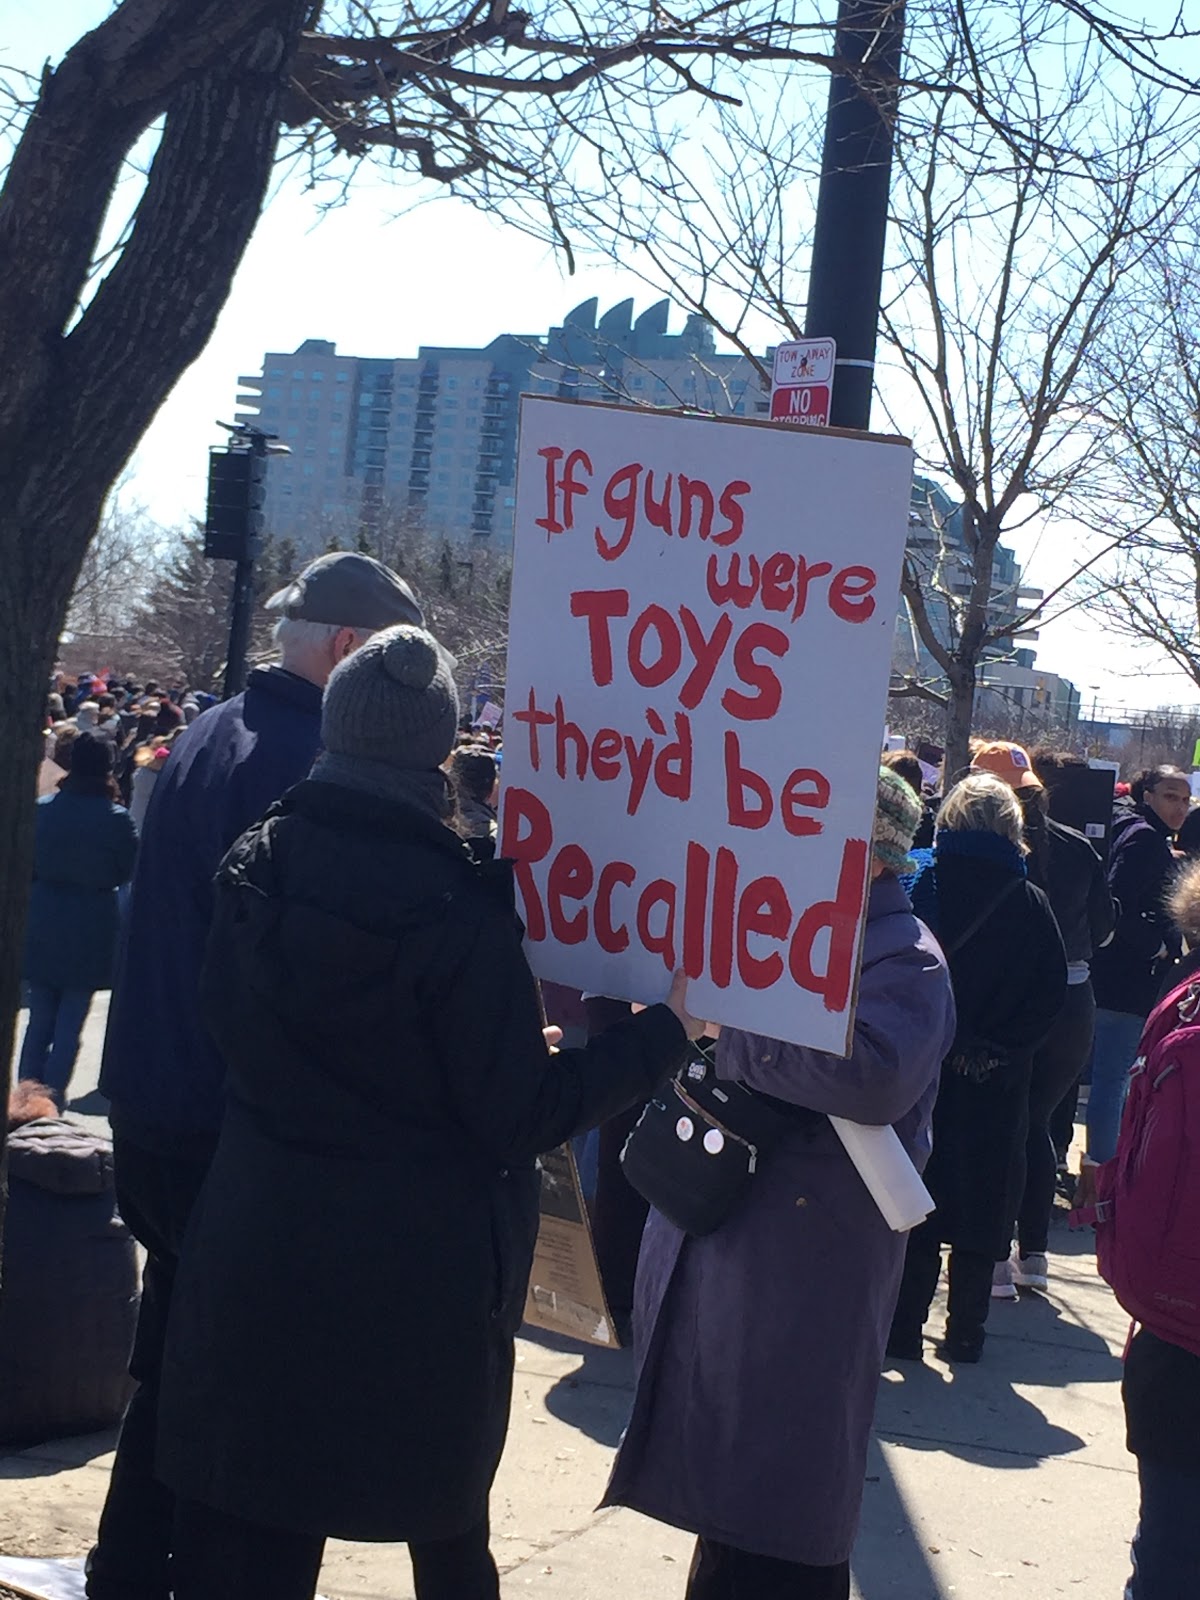
Different signs and posters at the March for Our Lives.